Installing the Rollerz
Return to products page
At your own risk !
Pre-Preparation:
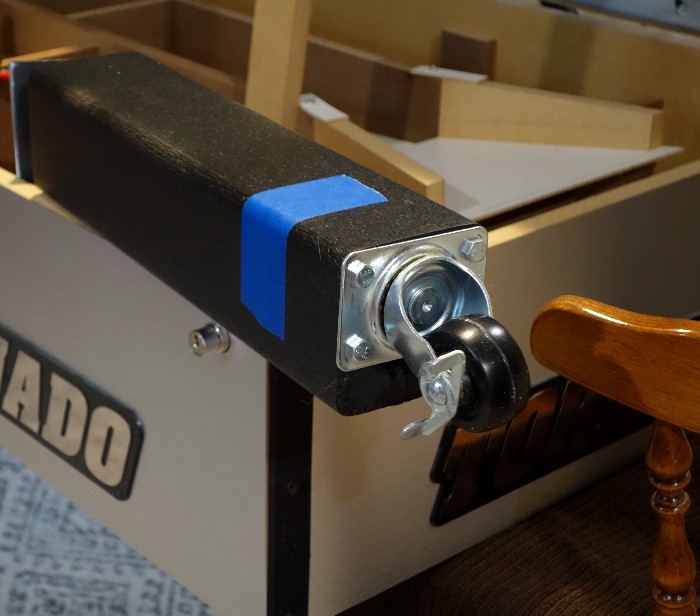
Before installing, I recommend coloring the roller brake "ON" tab to make it easy once installed to know what mode the roller is in:
Next,, mark (using tape) the outside edge of each table leg. Note: the tape does not go all the way around the leg; instead just covering the outside corner and two outside edges as shown in the pic below
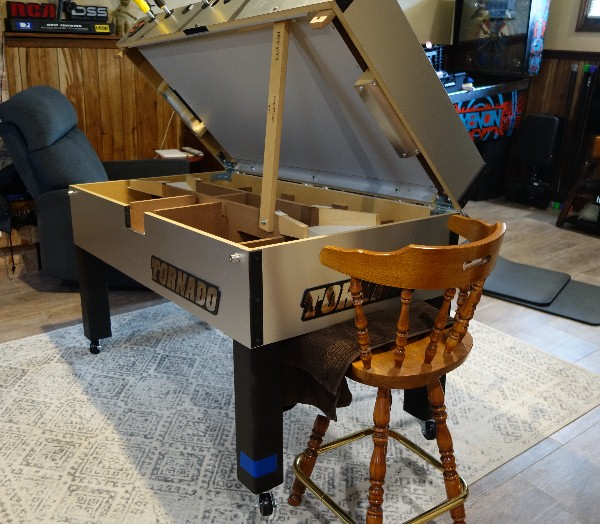
Elevate one end of the table to allow for leg removal. I used a bar stool, but any sturdy chair that will elevate the table end 4-6 inches off the floor will work:
Even though two table legs can be removed at this point, I strongly suggest you do them one at a time.
Remove one leg (on my T3000, the factory nuts were 9/16).
Unscrew/remove the existing factory foot-pad; remove just the pad with its threaded rod. The metal mounting plate remains installed in the bottom of the leg.Positioning the mounting plate exactly as shown (reference the marking tape previously installed, and position the rollers mounting plate as shown)...mark installation holes on the bottom :
after marking the holes, use a 1/4" drill and drill holes into the leg bottom 1 1/2" (1.5") deep to accommodate the bolts.
Install roller using the provided bolt and washer. DO NOT OVERTIGHTEN these; just snug up against the washer is fine. Use a conventional ratchet and 1/2" socket. You run a risk of over-tightening/stripping if you use an electric drill/impact driver to tighten the bolts
Reattach this leg in its original location and orientation.
Remove second leg and repeat. Once you have that ends legs reattached, then lower that end of the table back down (now resting on the rollers you just installed) and do the same for the other ends legs.
Contact: Timz Fooz or
tim@TimzFooz.com